Tools#
As you set upon the task of learning about FPGA and embedded system design, you will quickly notice the plethora of tools required to get the job done. You will need:
A text editor with relevant syntax highlighting.
FPGA specific design tools to analyse and synthesis your HDL design, and download your synthesised design to your FPGA.
A simulation tool to test and verify your HDL design.
A toolchain to develop and compile software that will run on the processor embedded in the FPGA design (or as a hardcore processor on the FPGA chip).
A version control tool to keep track of your source.
And finally, the necessary hardware and laboratory equipment to test and verify you design when running on the FPGA.
In the following sections we will briefly outline the tools you will encounter in this course. While some of these tools are specific to the type of FPGA vendor we will be use in this course, the skills you learn by using these tools are transferable to tools from other FPGA. Their user interfaces, integrated toolsets, and development flows may vary, but the general concepts still apply. Working with the Quartus design tools from Intel (Intel acquired Altera in 2015) in this course will therefore lower your initial threshold for getting up to speed with e.g., the Vivado design tools from AMD Xilinx (ADM completed the acquisition of Xilinx in early 2022).
Hardware#
Lets start with the hardware. In this course you will use an FPGA development board from Intel as well as two cables, one cable to power and program the FPGA and one to communicate data between the FPGA and your PC.
FPGA board#
You will be using the DE10-Lite development board from Terasic. This board is equipped with a MAX 10 FPGA from Intel. The specific part number is: 10M50DAF484C7G.
Depending on the number of students, you may be able to borrow a board from the course instructor. In that case, the board including all cables and the box must be returned at the end of the semester.
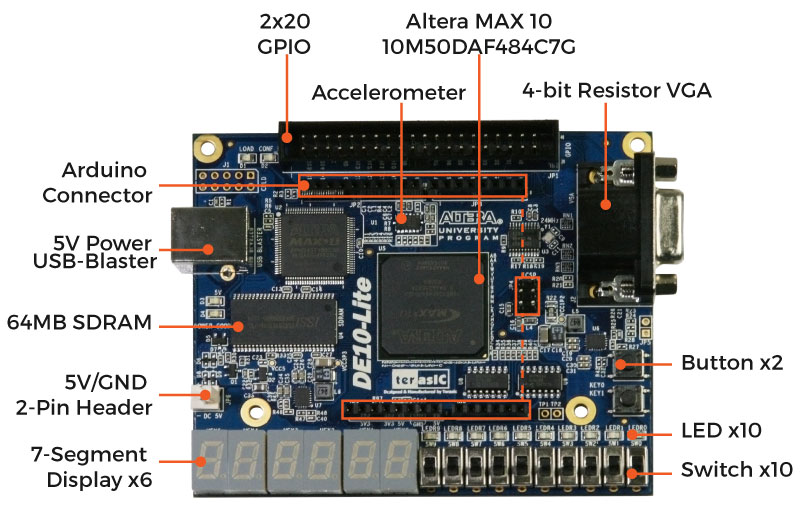
Fig. 3 The DE10-Lite FPGA board#
It is recommended to study the DE10-Lite user manual [Inc] before starting to work on the exercises and project.
Cables#
The FPGA development board includes a USB cable that can be used to power the board and to both program and communicate with the FPGA through a JTAG-interface. JTAG is short for Joint Test Action Group. It is an industry standard for verifying designs and testing printed circuit boards after manufacture, and is widely used to provide access to processor debug functions and to program FPGAs. Learn more about JTAG here.
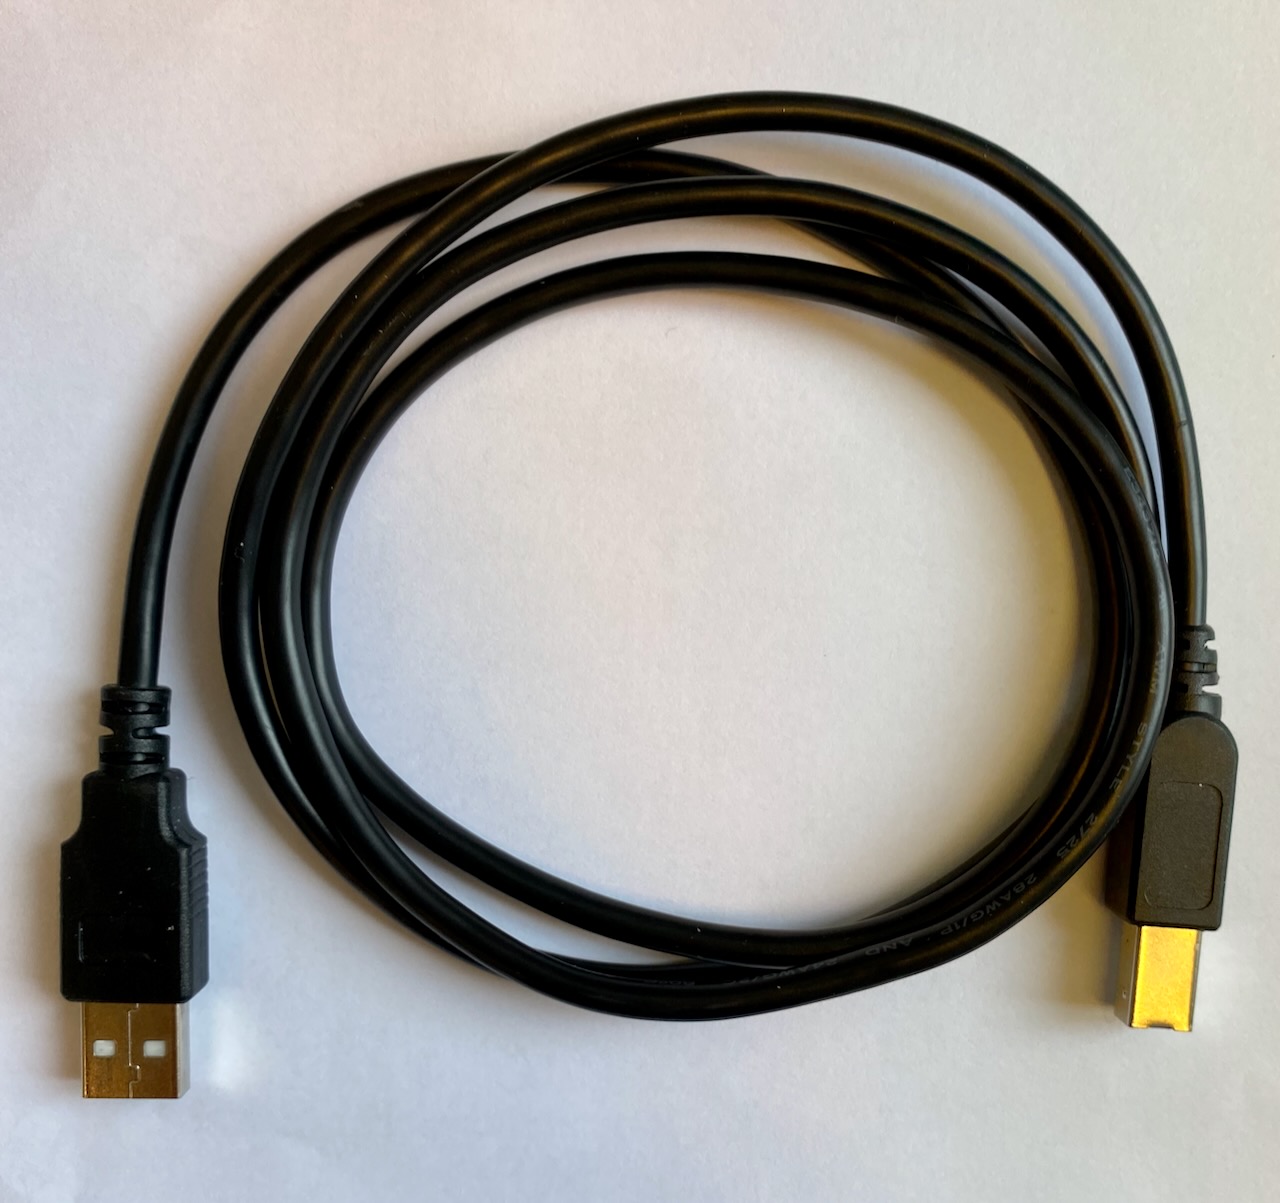
Fig. 4 The USB-cable is included with the DE10-Lite development board. There is a dedicated chip on the FPGA board that is responsible for translating from USB to JTAG.#
In addition we will use a UART to USB converter cable [Chi] from FTDI chip to communicate data between the PC and the design running on the FPGA. Depending on the number of students signing up for the course, this cable may also be borrowed from the course instructor.
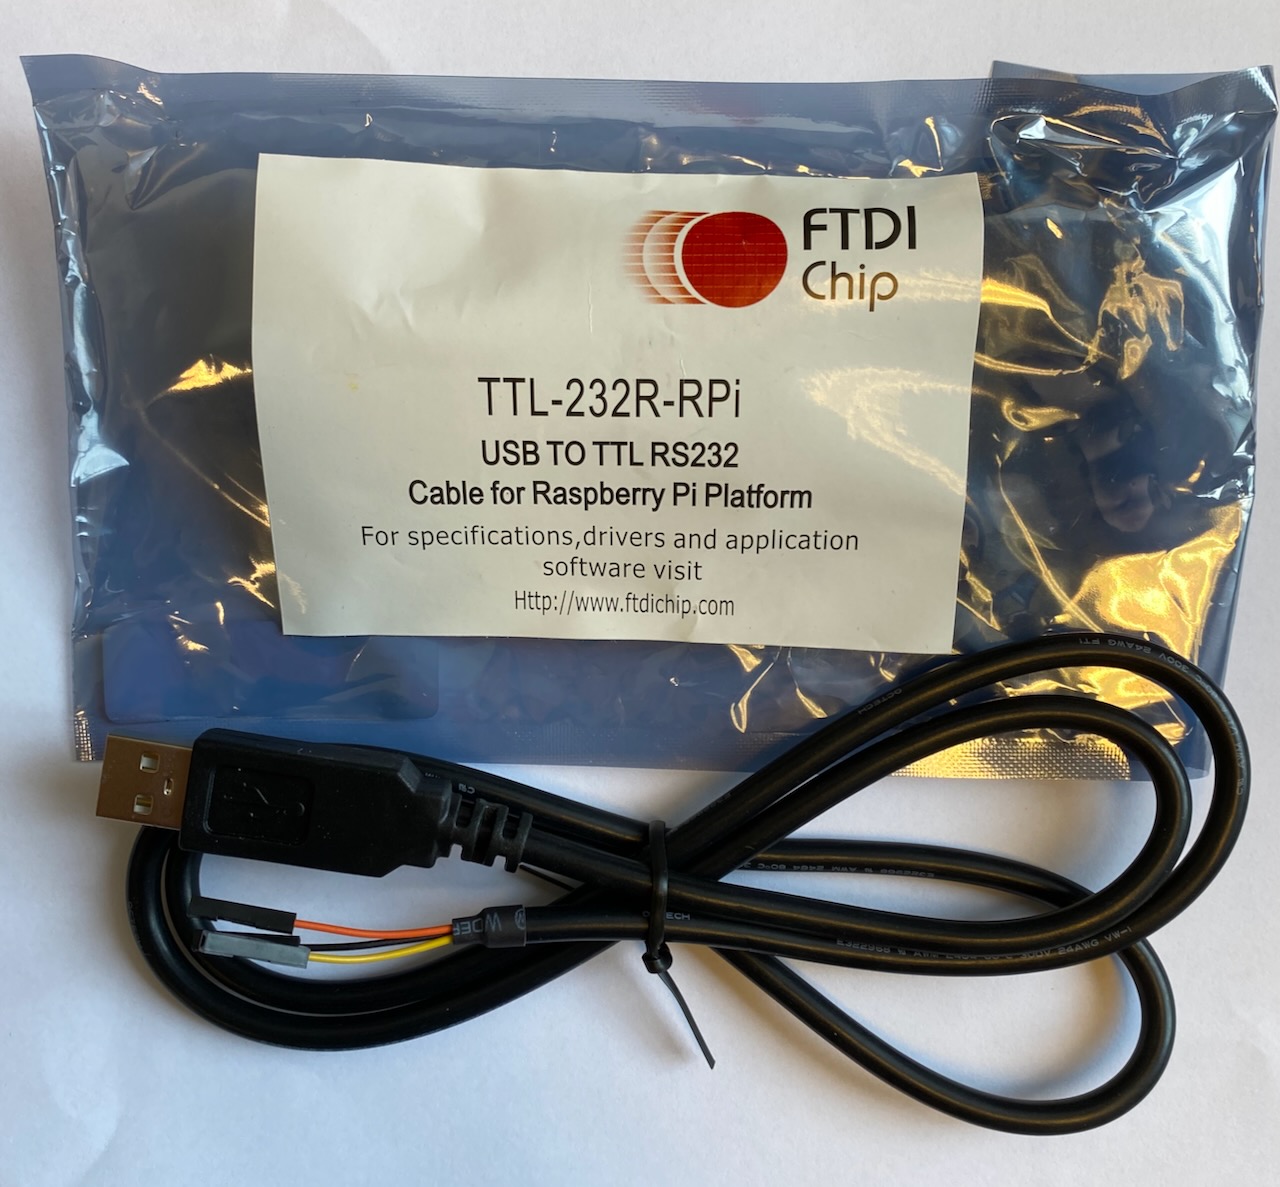
Fig. 5 The UART to USB converte cable from FTDI chip.#
FPGA design & simulation tools#
Quartus Prime Lite: As we are using an FPGA from Intel we will naturally also be using development tools provided by Intel – the Quartus Prime Lite Edition design software. This tool enables analysis and synthes of designs written in hardware description languages like e.g., VHDL or Verilog, as well as the ability to download these designs to an Intel FPGA. It also includes the Nios II embedded design suite which is used to develop and download software to a Nios II microcontroller system, if included in the FPGA design running on the FPGA.
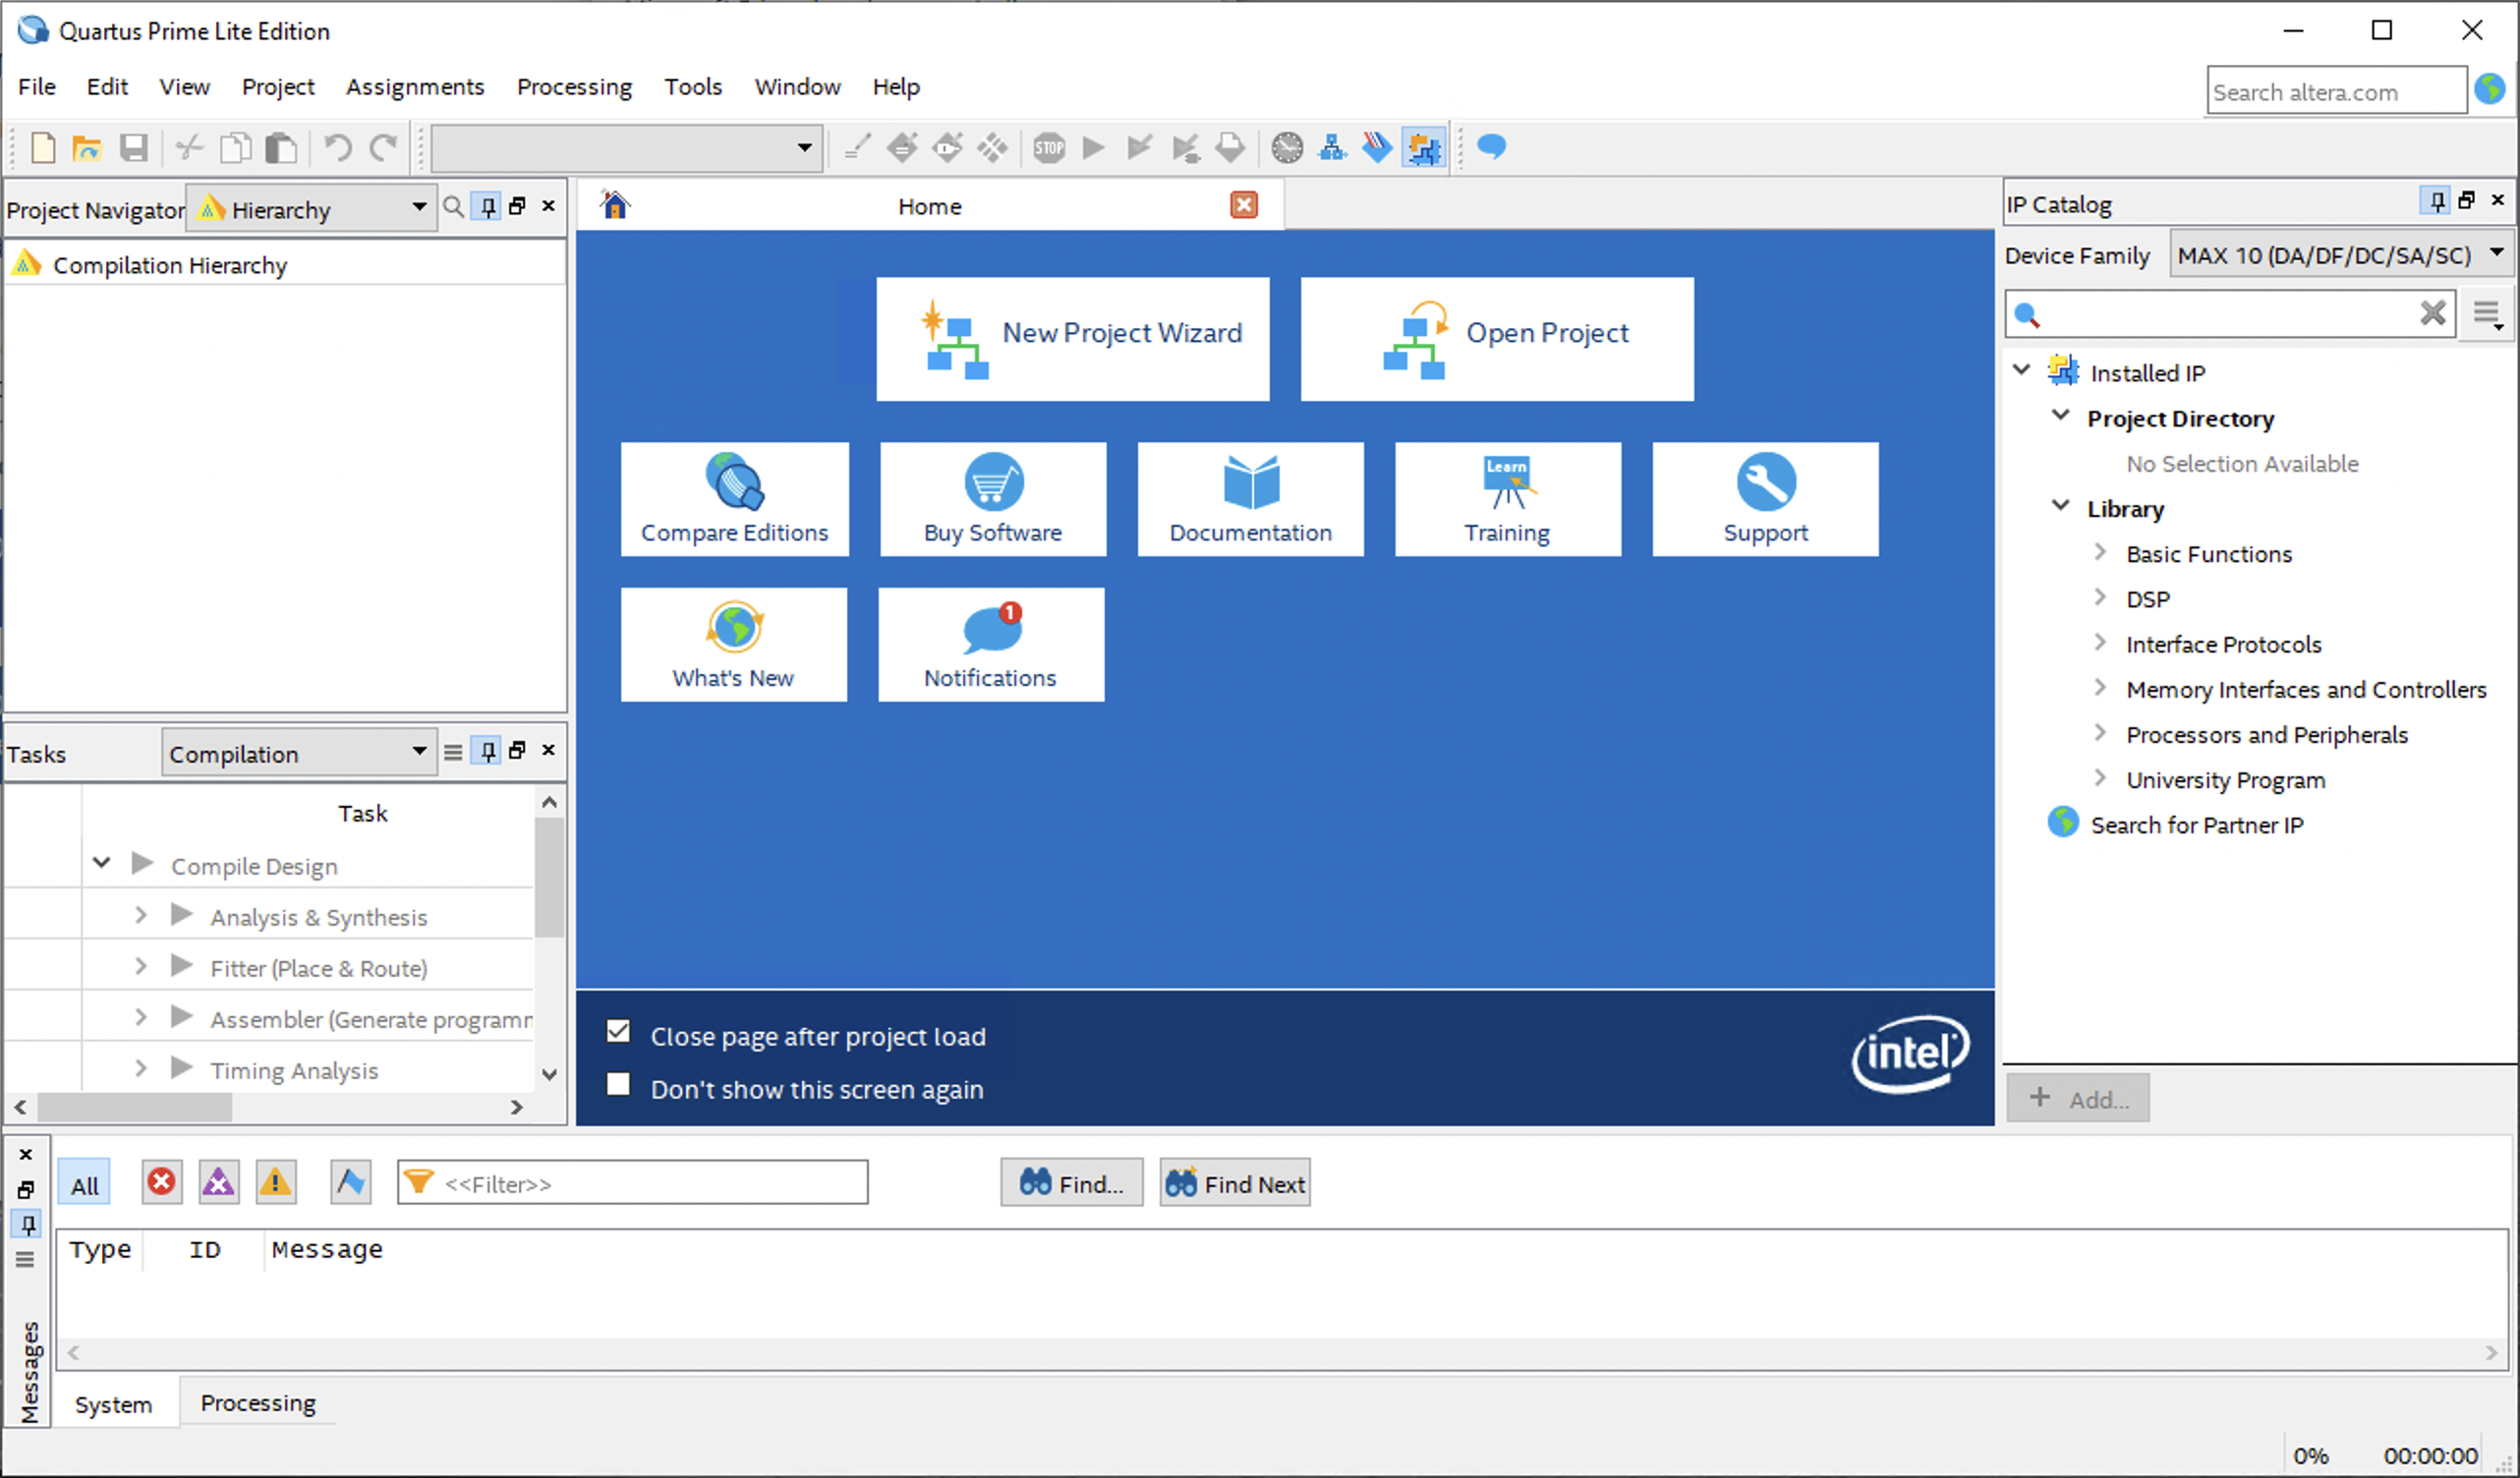
Fig. 6 The Intel Quartus Lite design tool.#
The Quartus Prime Lite version can be downloaded for free and no license file is required.
Tip!
Instructions on how to download and install the tools can be found here: Quartus and ModelSim.
Installation of Quartus Prime Lite will require around 15 GB of free disk space on you computer.
ModelSim: To simulate our FPGA design we will use a simulation tool called ModelSim/QuestaSim, which also can be downloaded from the link above. From version 21.1 of Quartus Prime Lite, QuestaSim is included, while for earlier versions ModelSim is included. ModelSim is a slightly “lighter” version, but for FYS4220 this makes no difference. However, QuestaSim requires you to register and download a free license file. If you do not want to register you should instead use ModelSim provided with the version 18.1 of Quartus Prime Lite. These tools can be used independently of each other, e.g., you can use version 18.1 of ModelSim and version 21.1 of Quartus Prime Lite.
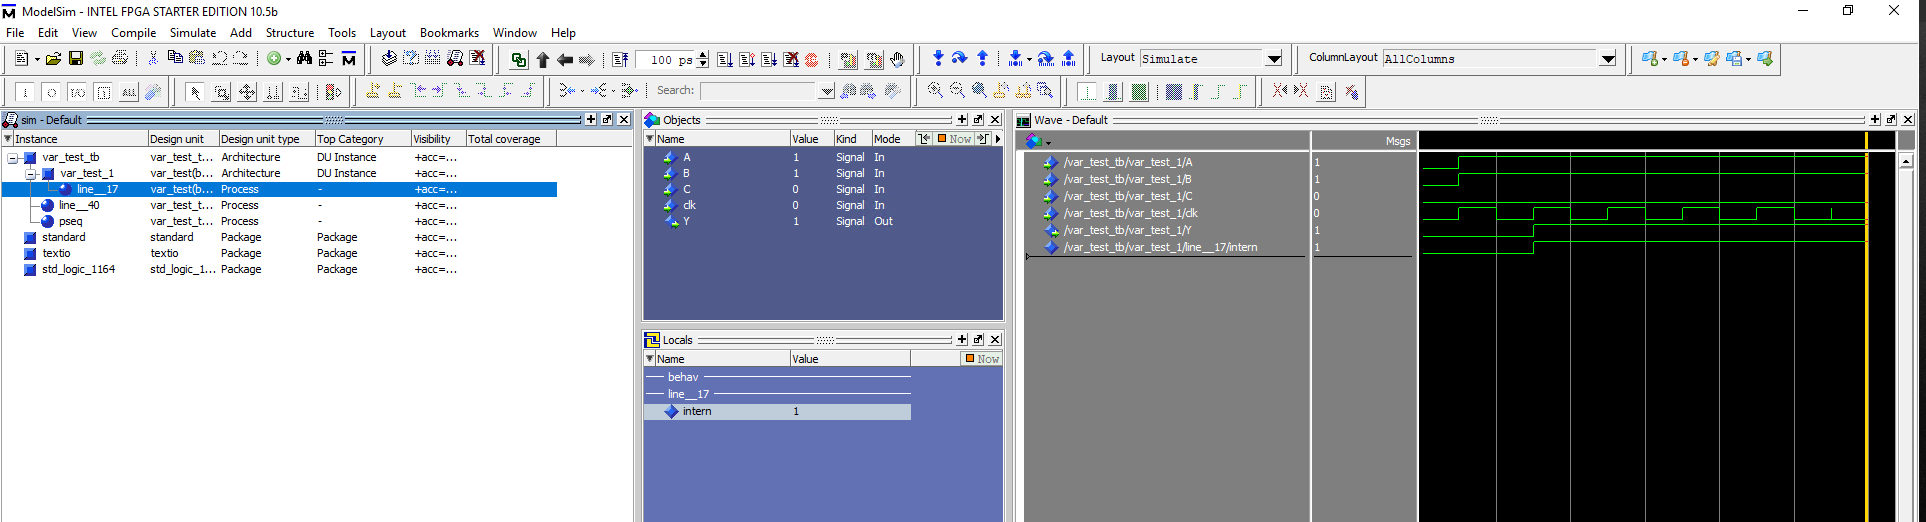
Fig. 7 The ModelSim simulation tool.#
For Mac users!
If you are using Mac, note that that FPGA development tools in general support Windows and Linux and not Mac. On Macs using an Intel processor, the alternative would be to use a virtualization tool like Parallels or Virtual Box where you can install Windows or Linux. Note that this is not possible on Macs with the new ARM M1 and M2 processors since Quartus cannot be compiled on ARM versions of Windows or Linux.
Open source tools#
There are some initatives to provide open source tool chains for FPGA development. However, these are still very limited. For simulation, there are on the other hand a few relatively good alternatives (also running on Mac): GHDL for simulation of VHDL, Verilator for simlation of Verilog, and GTKWave for visulations of wave diagrams.
If you prefer to use both GHDL and GTKWave in FYS4220 that is OK. However, most instructions on this site is for the moment only provided for ModelSim.
Git and Github#
You will be using Git and Github.uio.no to manage your code. Git is a version control system that lets you manage and keep track of you source code history. Git uses so-called repositories to store a collection of files of various different versions (file history) of a project. Github is a cloud-based hosting service that lets you manage Git repositories. UiO runs an enterprise version of the Github service hosted on UiO controlled servers.
A Github organisation will be created for FYS4220 and each of you will create your own personal Git repository within this organisation. A Github organization is simply an area where multiple repositories are collected and more easily managed. To activate your user, you will first need to log in to Github.uio.no using your UiO credentials. Only then it will be possible to add you to the FYS4220 organisation.
Text editor#
For some people, text editors are religion, e.g., the Emacs vs vi war. I suggest that you use the text editor you are comfortable with and that gets the job done. If you need a recommendation, Visual Studio Code has gained a lot of popularity recently.
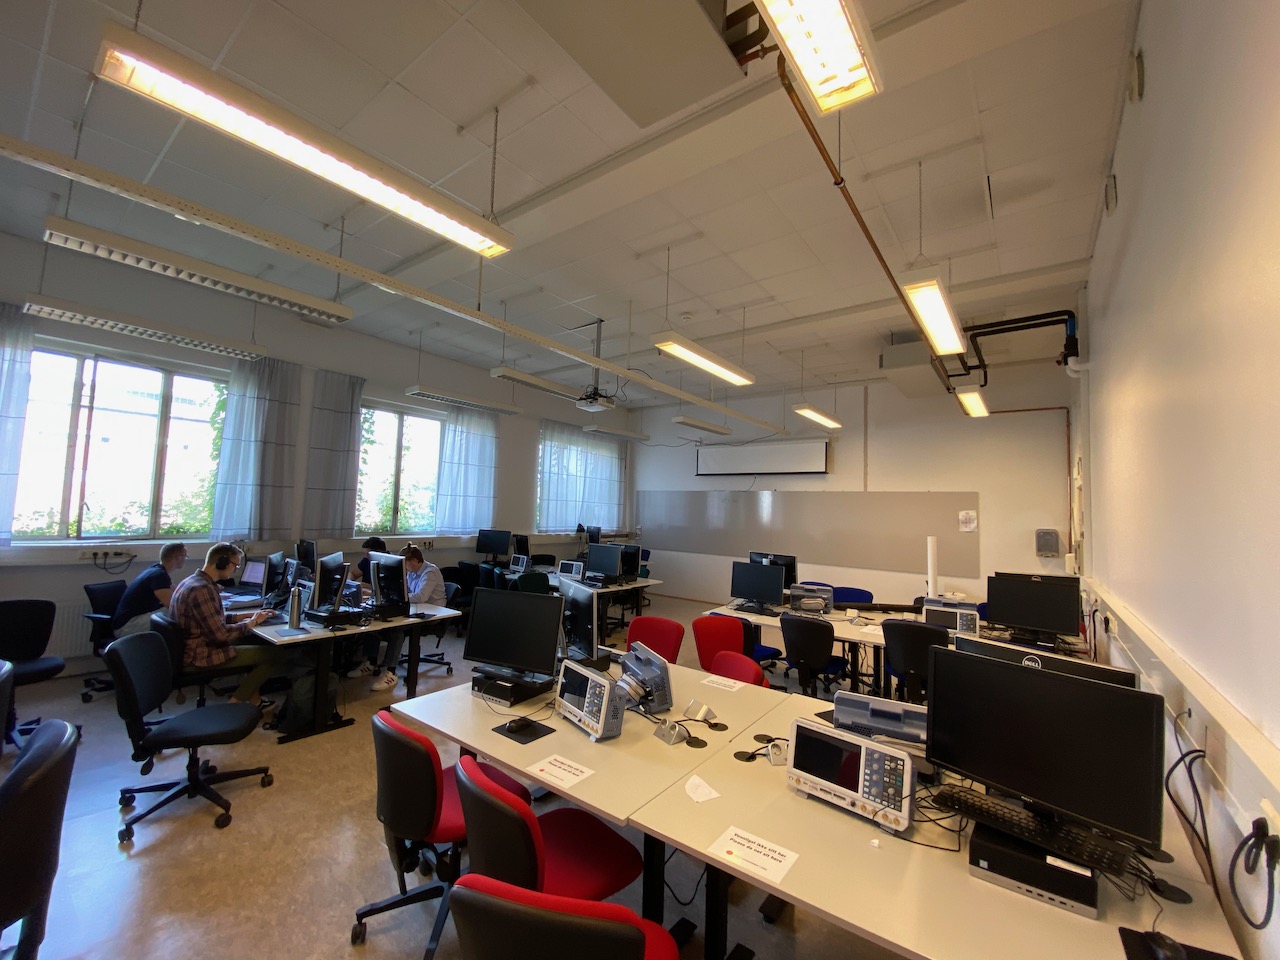
Student laboratory#
The student laboratory is in room 329 on the 3. floor, west wing, of the Physics building. There are 16 working stations equipped with a Windows PC and an oscilloscope. Version 18.1 of the Quartus Prime Lite and Modelsim Altera starter edition are installed on the PCs.
We have reserved the room for FYS4220 on:
Mondays from 10:15 to 14:00
Wednesdays from 14:15 to 16:00.
You are of course free to use this rooms outside these hours if the room is available and not booked by any other course. You can find the weekly schedule for the room here.